Hopscotch
http://gethopscotch.com and https://www.gethopscotch.com/hour-of-code-video/
This was written on March 12, 2017. It is my sincere hope that Hopscotch will update its videos and fix the other issues soon. Hopscotch could be a wonderful tool to entice beginners to want to learn about coding/programming. I would like the negative comments in this review to become obsolete in the very near future.

I have three or four students this year with high enough reading and problem-solving skills to learn this app. I really wanted to like it, but the inaccurate videos made it impossible for me to recommend it to my students. I kept trying to figure out a way that I could adapt my lessons to make up for the inaccurate videos, but with only one or two appropriate students in a class, it would just be too much of my time away from the rest of the class. I found problems with less than half of the project videos, but my students are very literal and have major behavioral issues when things are not the way they appear. If Hopscotch fixes the videos in time, I will use the program during summer school.

Hopscotch is a coding application (for iPhones and iPads only right now) that is aimed at teaching children and teenagers (ages nine and above) the basic logic behind programming by having them create their own games and artwork using block coding. Although Hopscotch is designed for older children, adults can use it too; there is nothing babyish about the interface. Hopscotch does not show users the written code behind the blocks, and there are many programming concepts that it does not use, but Hopscotch is both fun and educational if an instructor wants to excite students about coding without overwhelming them. The two biggest drawbacks for using Hopscotch to start an introduction to programming course are that it only works on iPhones and iPads and some of the videos were not updated when the application was updated. Some of the screenshots below discuss the second problem. The Hopscotch developers are working on an Andriod version, but it might not be out very soon.

I like the game interface. Students have fun when the focus is on creating games and not just coding. The video tutorials are also very nice, but some of the videos are out-of-date. At times, my phone did a task slightly differently than the video, but it was similar enough that I was eventually able to figure out how to complete the requested procedure after much trial and error. My students would get very confused with the difference between the videos and the app, causing undue frustration and related problem behaviors. I often paused the video to implement what it was showing; pausing is even encouraged within the videos themselves. I also discovered how to back up the video slightly to review previous tasks. Although the projects get more complicated as the learner progresses through the tutorials, the videos remain simple and show each step of each project (or rather, at times show the correct steps, when the videos and the current version of Hopscotch are aligned).
One of the great things I love about Hopscotch is the ability to modify the games right from the beginning. I took the time to modify each activity while working through the tutorials, so my published games and artwork are not exact copies of the projects as presented in the tutorials. I wanted to further challenge myself and to use creativity as a tool to help me to remember the concepts. There is no one correct answer; it is perfectly fine to use a spider in a game instead of the video’s burrito and to add additional obstacles. This type of creativity is encouraged in many of the videos, but I began making modifications with the very first tutorial.

There are free trial options, that last a month or a week, for the whole Hopscotch program, but the user has to remember to cancel his or her subscription before the trial period is over to prevent him or her from automatically being charged. I signed up a month-long trial in order to do some of the suggested game enhancements, such as adding photos to games. I wanted to be able to evaluate the full Hopscotch app, not just the free version, but if I were using this with my students or with adults, I would stick with the free tutorials. The free version has enough activities to give my students the basics of how to code with blocks. Students can purchase the full application if they choose.
https://www.gethopscotch.com/pricing Subscriptions can be canceled through “Manage Account” within the app (which opens up iTunes) or open iTunes, go to the “Account” settings, then click on “Manage”. If you are only planning on using the free trial, it is very important that you cancel before the week or month trial period expires or you will find yourself automatically paying for the next month (for the free week) or an entire year (for a free month), depending on which option you chose when you signed up.

You can only use your own images in the paid version because all activities with outside images have to be moderated by a staff member to make sure that everything is child-friendly. This moderation can take several hours to several days, depending on how many projects need to be reviewed and how many staff members are currently reviewing projects. Users will receive a message in the activity section (lightning bolt at the bottom of the screen) when their activity is live on the Web.
One project that required me to set a background and make a “sledder” move down a hill, avoiding objects that I put in its path. Due to my desire to make changes as I code, I changed the location of the hill from the video. This meant that I had to do additional mathematical problems, along with quite a few trials, to make the game work. My students would have to follow the directions precisely or they would easily become frustrated. In fact, I would skip this particular video with my students because it contained some glaring discrepancies with the current version of Hopscotch. In my school, frustration leads to everything from head-banging to breaking things (or even biting the computer teacher), so I try to help my students to learn in a less stressful environment. This simple project (https://c.gethopscotch.com/p/ykb4nzp9t Slippery Slope Revised and https://c.gethopscotch.com/p/yl4ooa959 Slippery Slope Revised Remix with directions) took me several hours to complete due to my modifications (and having to figure out the updated procedures), but so did my previous project (https://c.gethopscotch.com/p/ykaht60iy “Draw with Code, I taught myself everything except squares”), which was one if the many projects that I completed before I found the introductory lessons. I enjoy being creative, but it does take extra time.

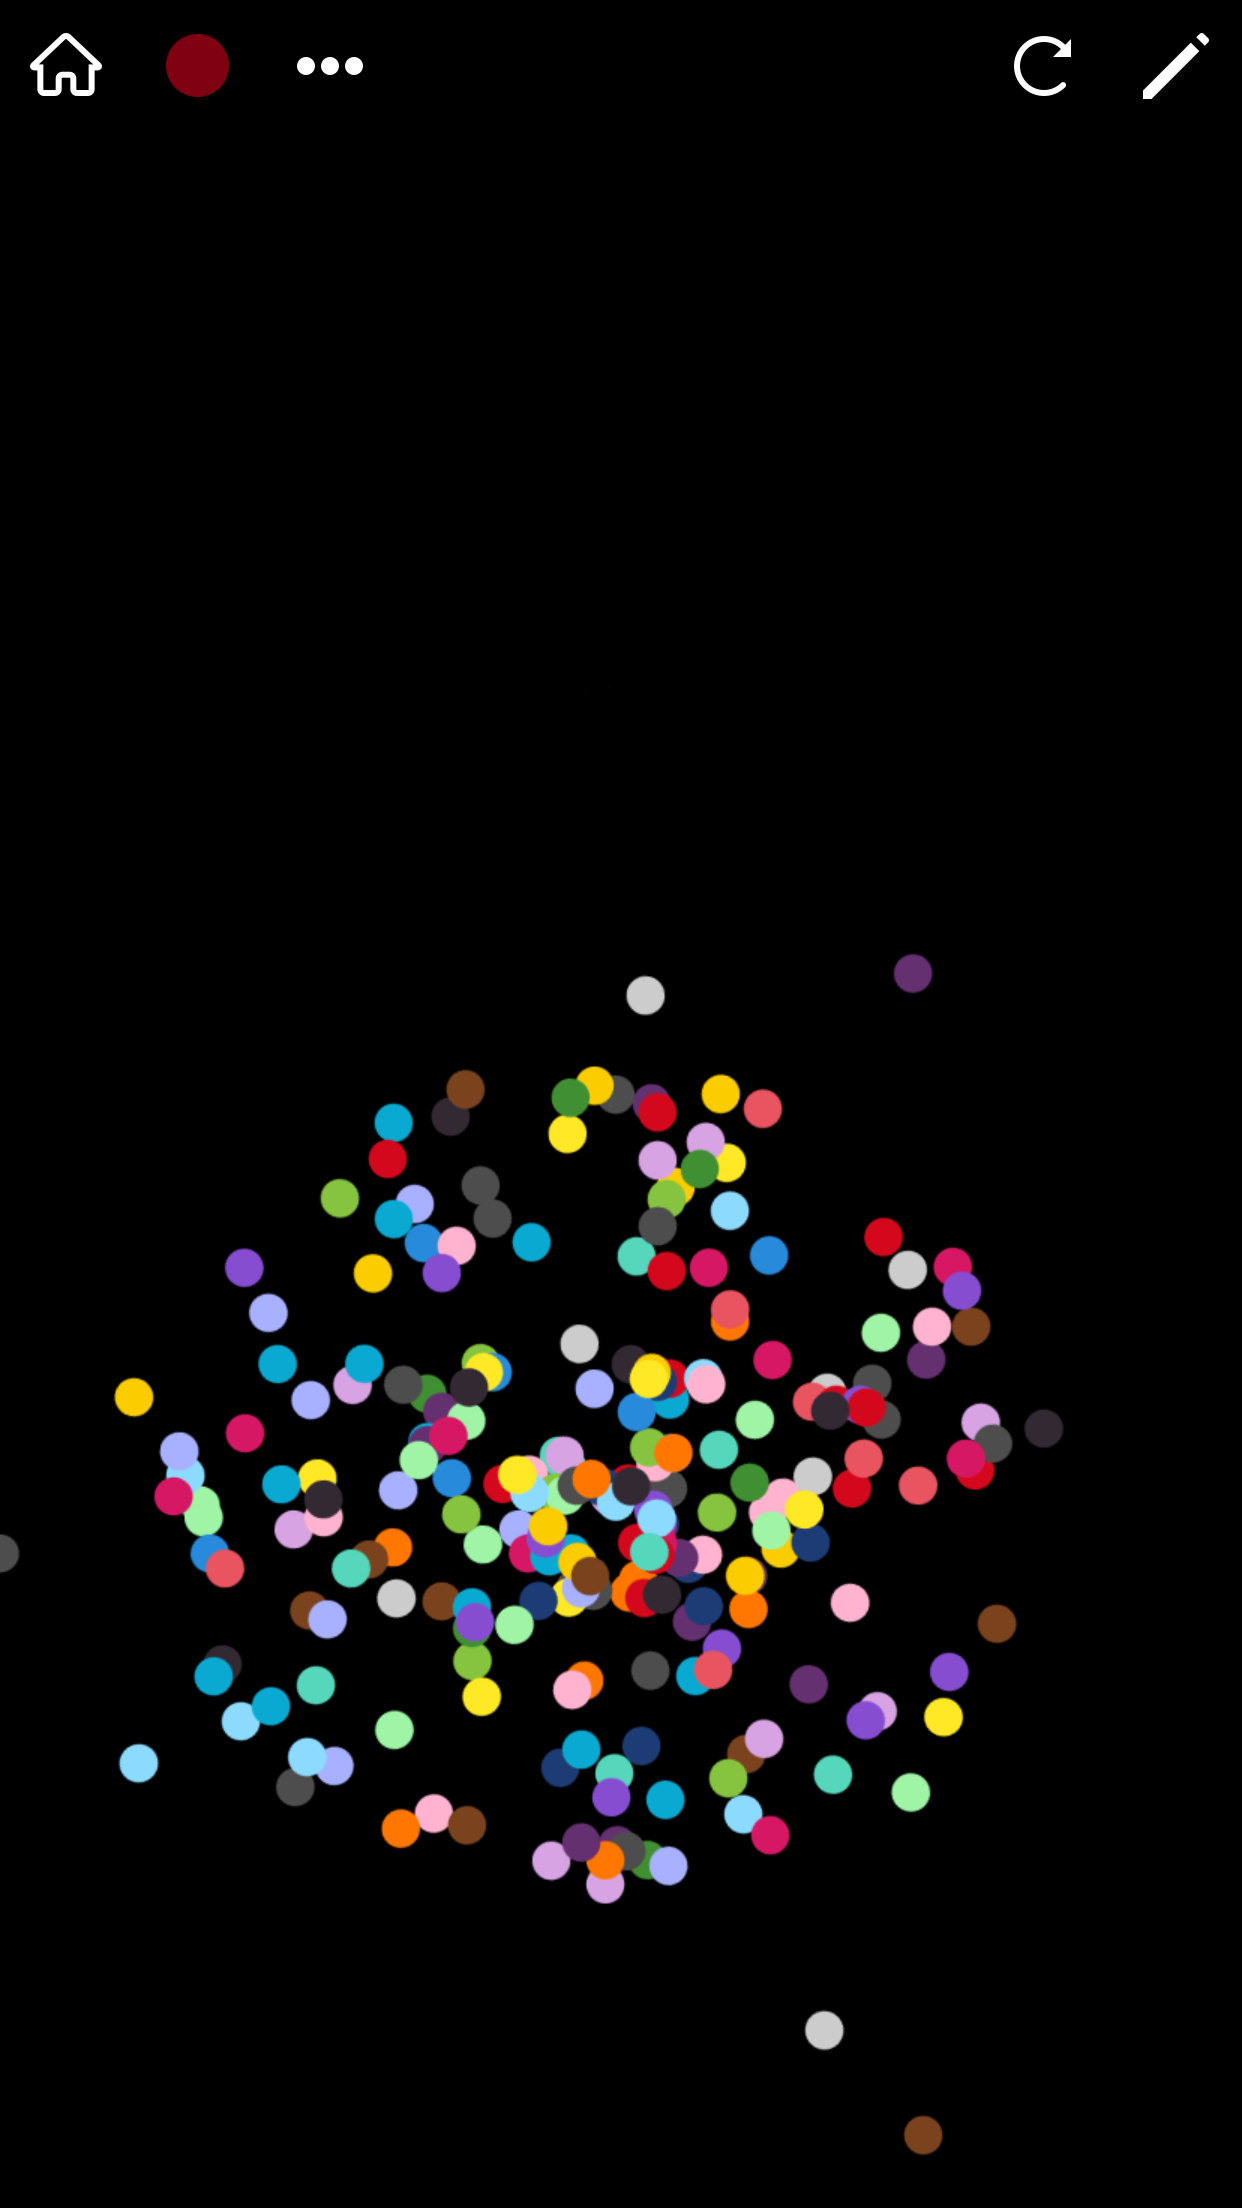
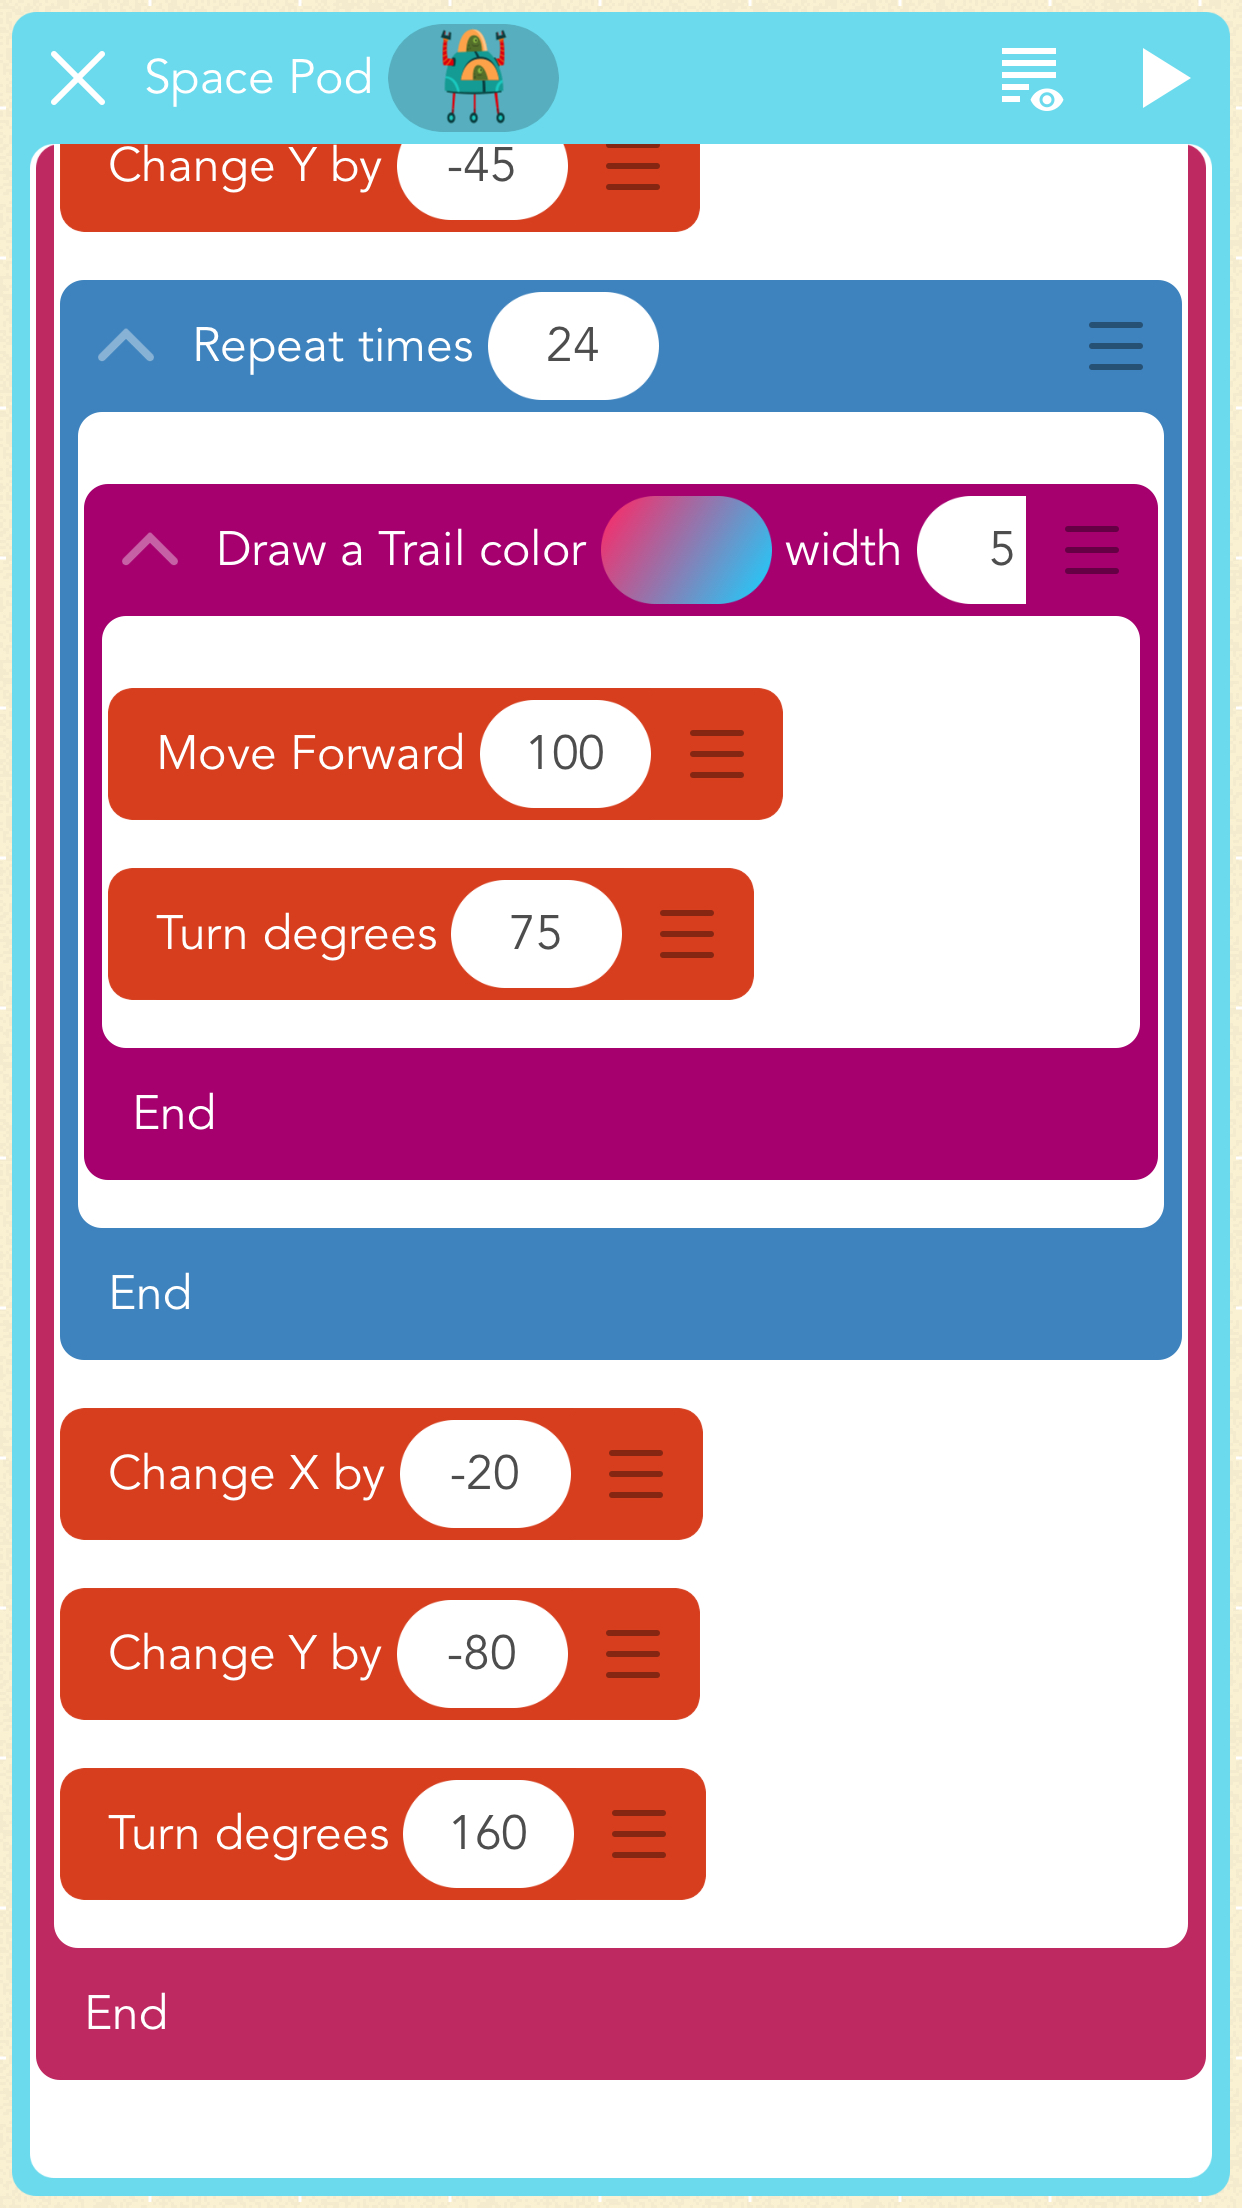
I am quite proud of my first creative drawing project (first picture on this page). These pictures are of my final drawing project. Instead of the carefully planned random look of the first picture, I wanted my final art project to be symmetrical. I did this one without any help from a video tutorial, but I did incorporate several things that I discovered from the videos and my explorations. It took me much longer than I thought it would, but I am happy with the end product (https://c.gethopscotch.com/p/ylj3i3mzy).

After completing several projects, I found the “Coding Journey” section. This would have been a good place to start, but since the game creation activities have fairly accurate videos, I didn’t really need it. I took the time to go through the activities just in case there was something important that I missed doing the previous activities. Some of these learning activities said that I earned badges that don’t really exist. I contacted customer support about the badges and was told that there is no real badge collection section. I told them that actually earning badges would help to motivate my students. If the videos ever get fixed, and I decide to use Hopscotch in my school, I will create my own badges to go with the lessons that mention them.


There is a community forum designed to assist Hopscotch users (http://forum.gethopscotch.com/t/fireworks-tutorial-problem/33057). The problem with help forums is that it is people like me providing the answers. Responders do not always have the correct answer or they may skip steps thinking that the reader knows as much as they do about a procedure. Sometimes, these forums can point me in the correct direction, but not always. They never seem to provide the full solution.


These are my completed projects. The newest ones are on the top (roughly in order). Below the links are some additional screenshots from my iPhone.
https://c.gethopscotch.com/p/ylj3i3mzy Concentric Nested Rings
https://c.gethopscotch.com/p/ylglrljav This is a revision of Slippery Slope with additional food and obstacles, using the tilt function.
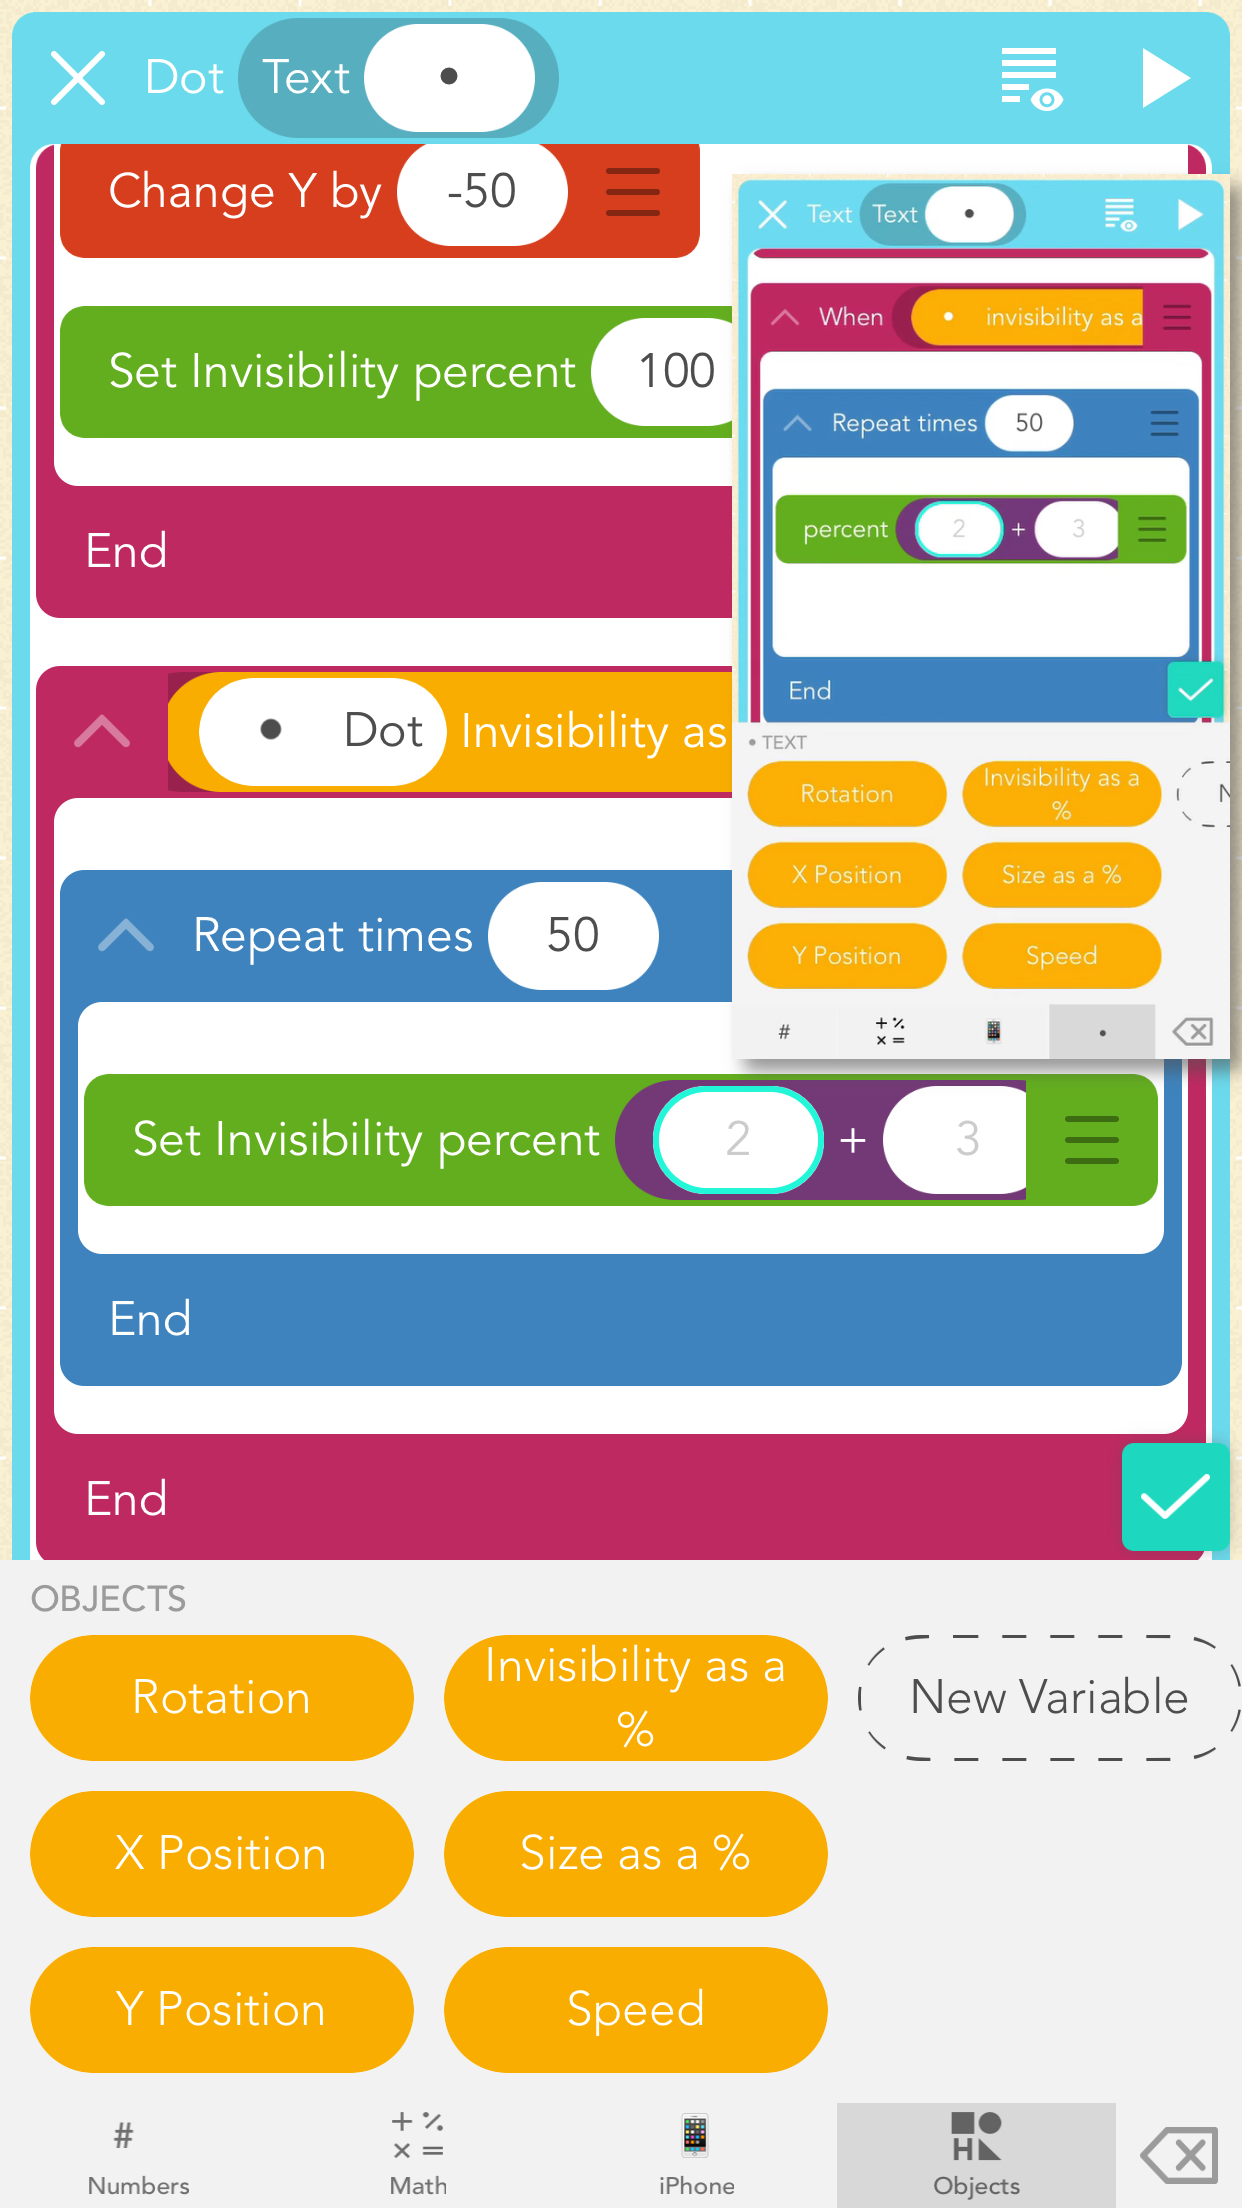
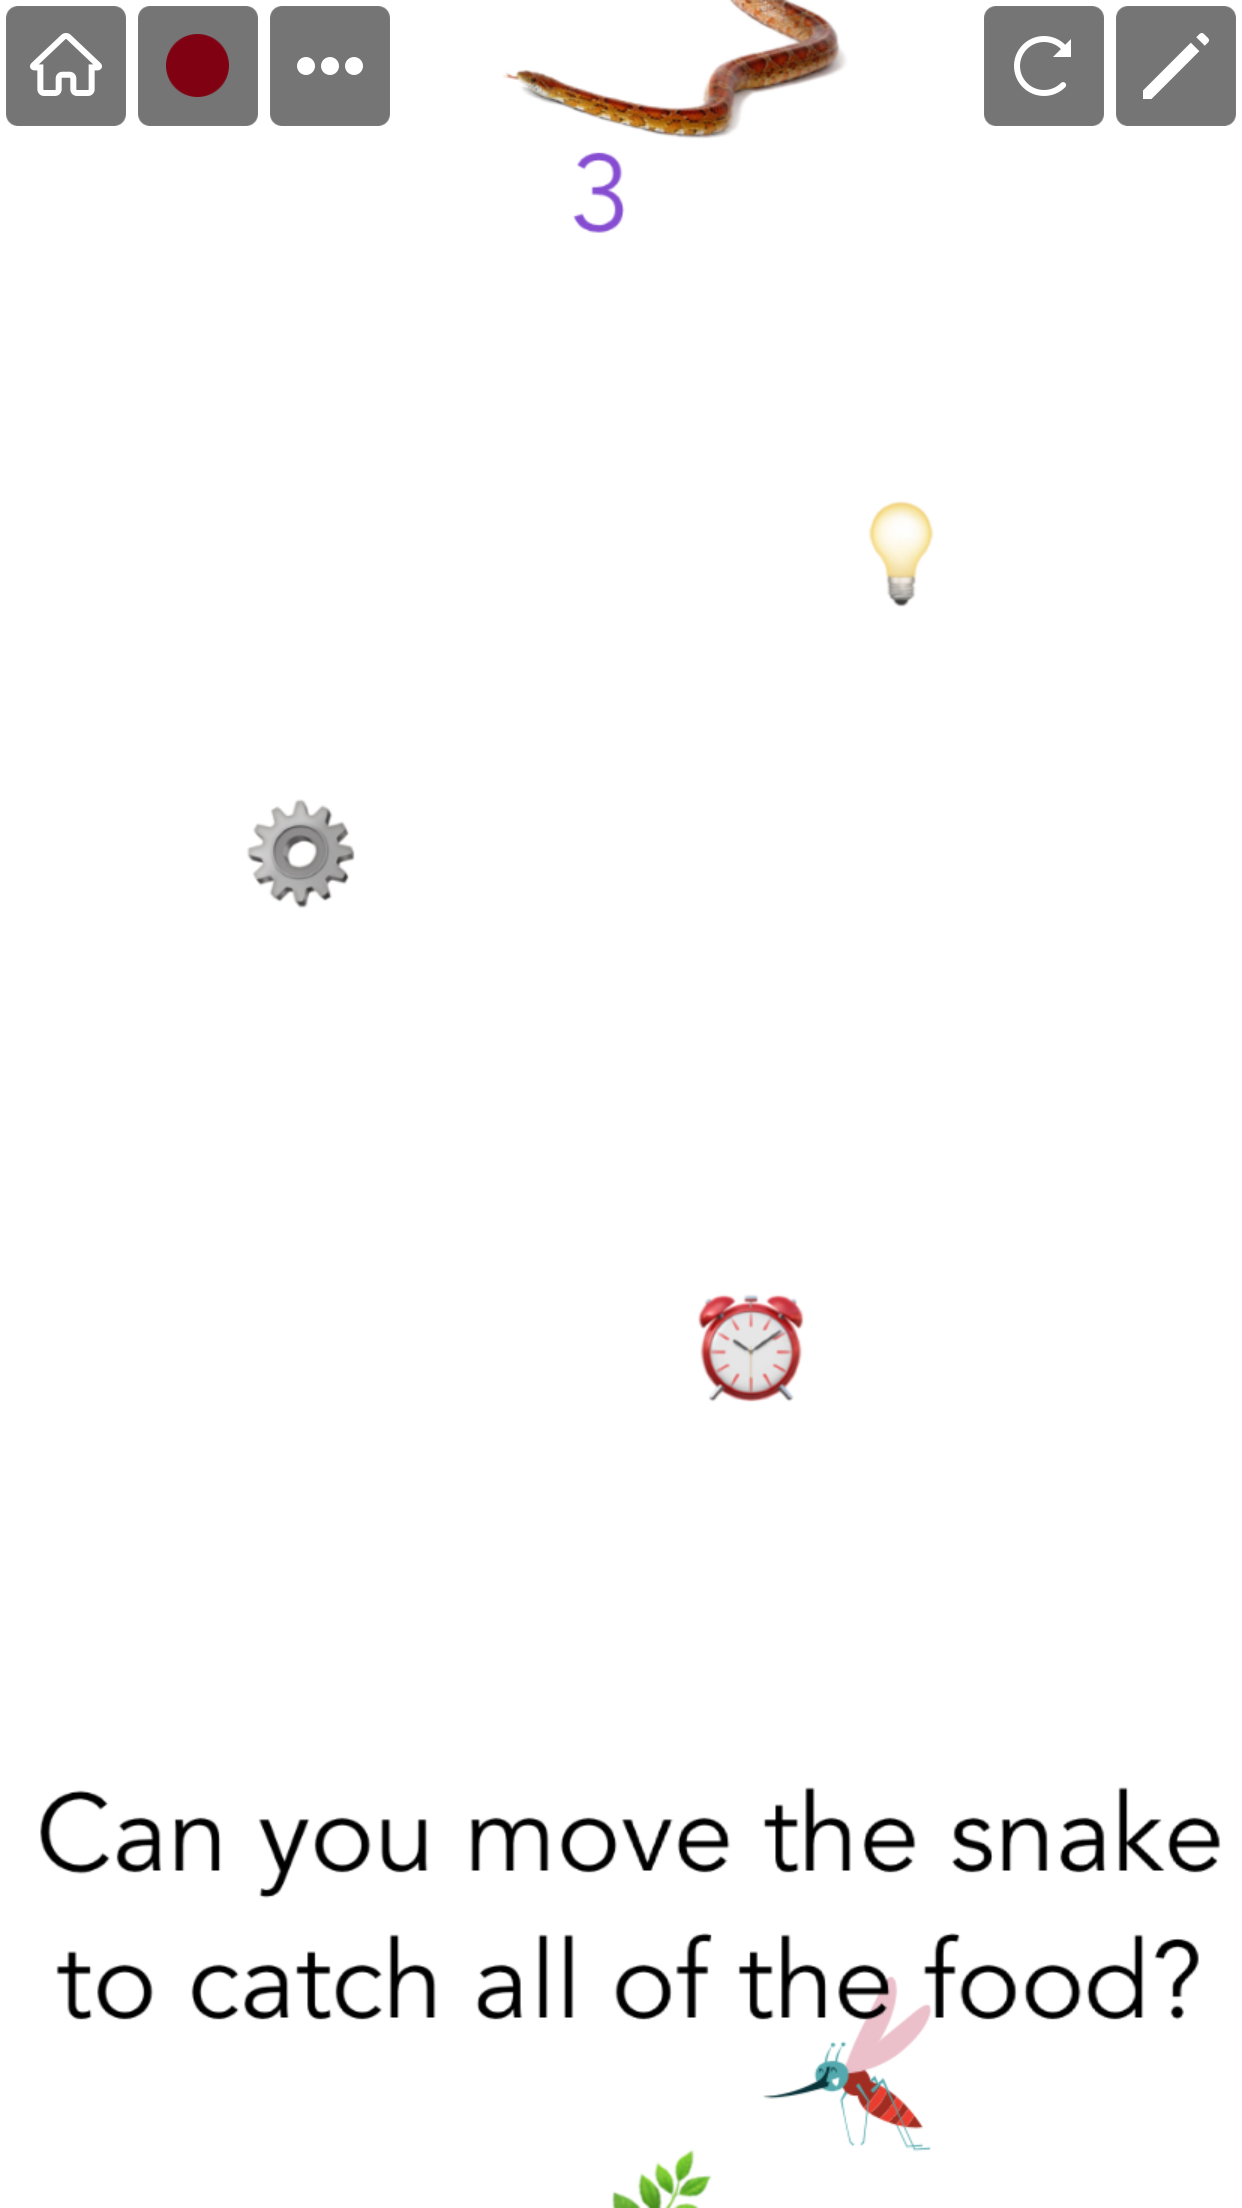
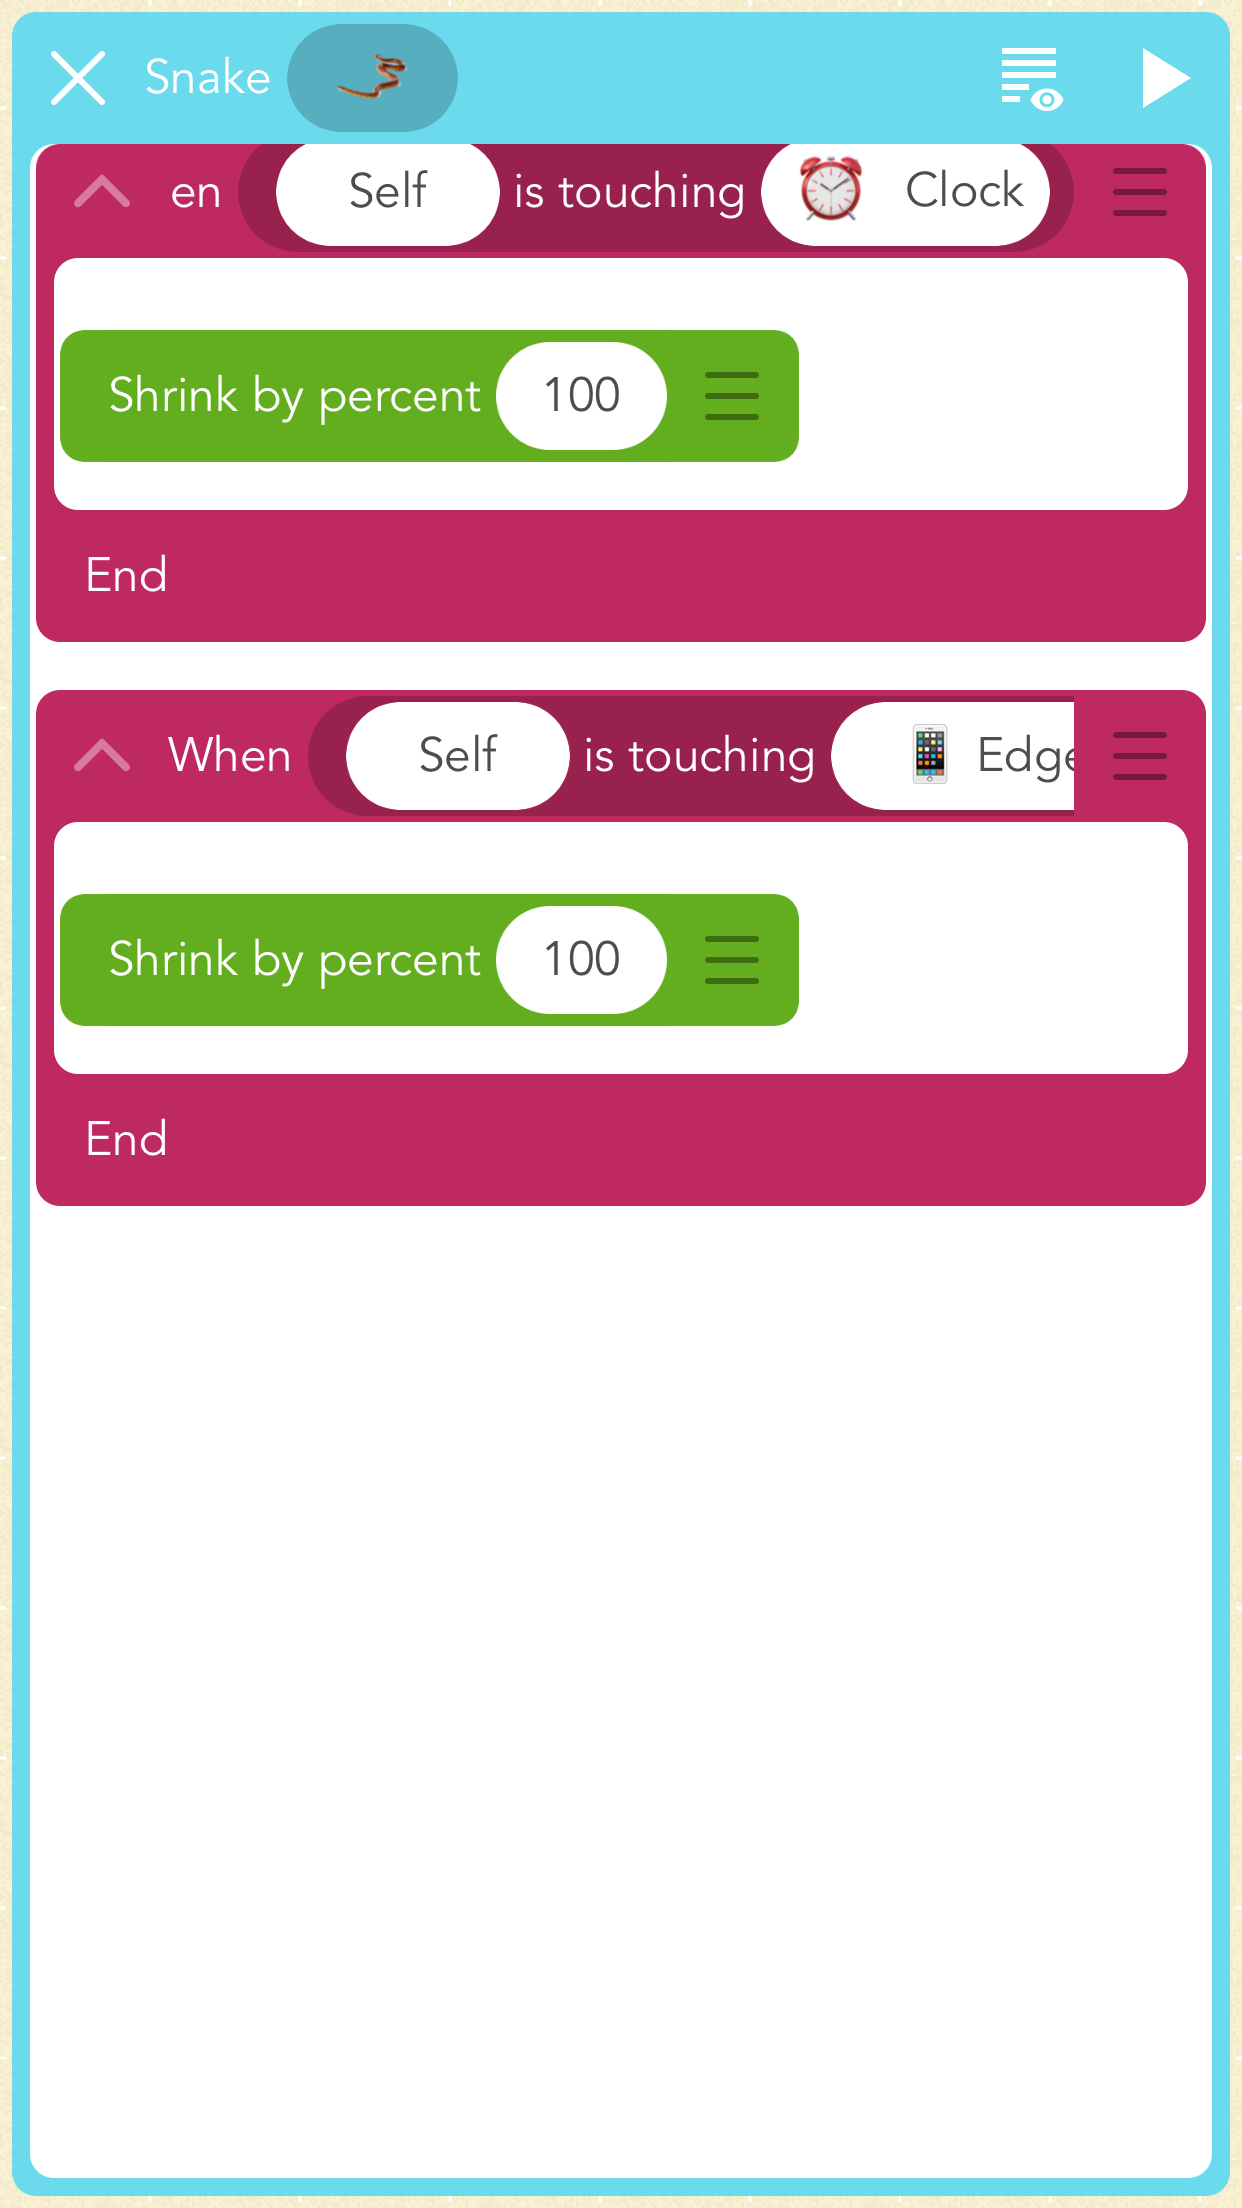
https://c.gethopscotch.com/p/ylh0nr4tc I tried to make the Snake fade when it touches the edge (of the window) — that did not work as it should have done. I also tried fading when the snake bumps the edge. The snake did not disappear either time.
https://c.gethopscotch.com/p/yl4pjux8p Slither.io Revised Remix, Tilt to Move
https://c.gethopscotch.com/p/yl4ooa959 Slippery Slope Revised Remix with directions
https://c.gethopscotch.com/p/ykydev4wc Fireworks with Fade
https://c.gethopscotch.com/p/ykejjtkyl Fireworks Slight Revisions
https://c.gethopscotch.com/p/ykaht60iy Draw with Code, I taught myself everything except squares
https://c.gethopscotch.com/p/ykb4nzp9t Slippery Slope Revised
https://c.gethopscotch.com/p/ykao1via9 https://c.gethopscotch.com/p/ykao1via9
https://c.gethopscotch.com/p/ykaqh37f1 Draw Three Squares With Code Remix
https://c.gethopscotch.com/p/yk985k0cn Slither.io Revised
https://c.gethopscotch.com/p/yk8yvwq6o Geometry Dash Revised
https://c.gethopscotch.com/p/yk8qemw7l Don’t Drop Your Gifts
https://c.gethopscotch.com/p/yk8l781e8 Whack-a-Mole!
https://c.gethopscotch.com/p/yk8i7q7sm Draw a Larger Square With Code
https://c.gethopscotch.com/p/yk8hz3rvm Robot Jumps When Screen Is Tapped
https://c.gethopscotch.com/p/yk8hovrwt Draw a Square With Code
Here are some additional screenshots from my Hopscotch journey.


Here is my App Store Review: This should be a 5-star app, but I’ve wasted many hours and days because the video tutorials tell me to select an item that is not in my app. Sometimes, after persistent trial and error, I discover a workaround, but not always. For instance, I’ve been working on fireworks for well over a week now. Toward the end of the tutorial, I am told to select something that simply doesn’t exist, and I cannot figure out a currently working option. I’ve looked at another video tutorial online that looks official but is even worse. I even went so far as to delete the app, download it again, then try to start over. I reached the same road block. I was going to recommend this to some other people; I am NOT!
After a few days using Hopscotch, I came to the conclusion that it can be a great introductory motivator, but it is not something that I would want to be the centerpiece of an introduction to programming course. It allows users to engage their creativity and to learn a few basic coding concepts that can then be used in a wide variety of tasks, but I do not see it as being an effective tool for an entire course. I wanted to find something that I could use if I was to turn my lab into a computer science lab. I had a few days while I was waiting for my snake projects to be approved by Hopscotch, so I decided to take the time to learn more about Code.org.
Hopscotch is a great motivator to introduce coding, but I prefer Code.org if I want students to understand more of the logic and a larger variety of variables and programming commands. I also like that Code.org lessons allow students to see the JavaScript that the blocks are built upon.
Hour of Code https://code.org/learn
Code Studio (go beyond an Hour of Code) https://studio.code.org
Free for all devices.
I wanted to explore the Code Studio beginner courses because my students may not have access to iPads or iPhones at home. Code Studio is not an iPhone/iPad app, it is a Website that can be accessed on any device (device agnostic). I have had much success with the Hour of Code activities and wanted to take this opportunity for additional exploration.
I suggest beginning with Course 1 with all young students and older elementary school students functioning on a lower level, even if the students know how to read, because it presents the material in an easier manner. Course 2 will review what was learned in Course 1, but review can be a good thing, especially for people who have never done any coding in the past. I have only used some of the more basic Hour of Code exercises with my students, but I may do more coding in the future if we get students who can read well (therefore, do not need the basic reading tutorial I use in class with my students who are reading below grade level). If time allows, and I have students who can do the work, I plan on teaching Course 1 to some of my students (probably skipping the unplugged activities) this summer.
Course 1 is also a good place to start with students who need some initial practice with the fine motor skills of dragging blocks, snapping them together, and separating them. Course 1 goes on to introduce some basic commands and loops, always with a video introduction to motivate students and explain the new skill. It does require some reading skills, but the reading level is lower than Course 2. Non-readers can work with someone such as a friend or adult who can help them. In a classroom setting, I would present each lesson as a group activity before letting students use their own computers or other devices. I would also encourage pair learning as long as the more advanced student does not completely take over. Teaching my students to work together is an important but difficult skill. Since real-world programming jobs do not exist in a vacuum, coding activities are a good platform for teaching students to work together.
I skimmed through the “Accelerated Course 2 – 4” sequence. It is designed for students ages ten through eighteen, but it would also be appropriate for adults who are first being exposed to programming and are not studying to be computer programmers. It moves too fast for my students, who would need to complete each course in its proper order without skipping any opportunities for additional practice. This course is designed to take twenty hours, so I just did two or three activities in each lesson to get a feel for the scope and sequence. The accelerated course begins with easy lessons, then gradually adds functions, if/then, variables and other options. Each new concept is presented in a brief video. Students then practice what they saw in the video before the work gets more complex. The current videos are available on the activity screens for reference whenever students get stuck. There is also a “hint” button that students can click. Both of these aids were extremely helpful in my exploration, especially since I did not have the time to do every lesson.
Studio Code allows students to keep repeating each step as often as necessary until they understand the concepts. Like Course 1, this course uses drag and drop blocks, but they have more text and the programming functions go beyond simple looping. The directions for many of the activities also are written for students with a higher reading level. Although high school students can take this sequence, it does not require high school level reading or mathematical abilities.
All of the Code.org courses that I previewed have easily accessed reset, try again (for additional practice), and continue buttons that let students learn at their own pace, along with the videos and hint buttons that are mentioned above. Some of the projects can be shared on Code Studio. When shared, students obtain links to their projects that they can then share with teachers, friends, and family.
